How to Use Trains in Japan
IC cards, train types, transfers and station navigation.

THE VISUAL QUICK GUIDE
Follow the numbered callouts in each drawing. Open a full-size diagram to inspect the controls on a phone.
Buy a local train ticket
This is a typical paper-ticket journey. The buying example follows Tokyo Metro; machines and payment options vary by railway.
- 01
 Open full-size diagram ↗
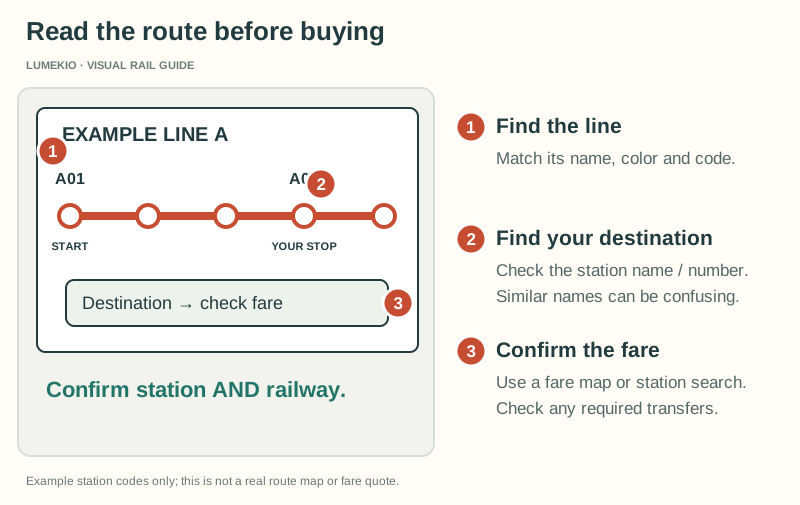
- Find the line
Match its name, color and code. - Find your destination
Check the station name / number. Similar names can be confusing. - Confirm the fare
Use a fare map or station search. Check any required transfers.
Find your station
Check the railway, destination and fare. A station name search may be available at the machine.
- Find the line
- 02
 Open full-size diagram ↗
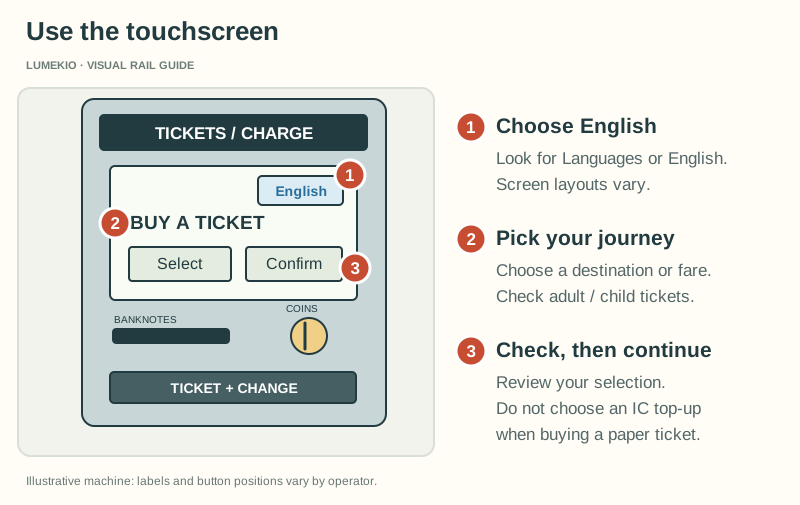
- Choose English
Look for Languages or English. Screen layouts vary. - Pick your journey
Choose a destination or fare. Check adult / child tickets. - Check, then continue
Review your selection. Do not choose an IC top-up when buying a paper ticket.
Choose your ticket
Switch to English if available. Select your destination or fare, and the correct adult or child ticket.
- Choose English
- 03
 Open full-size diagram ↗
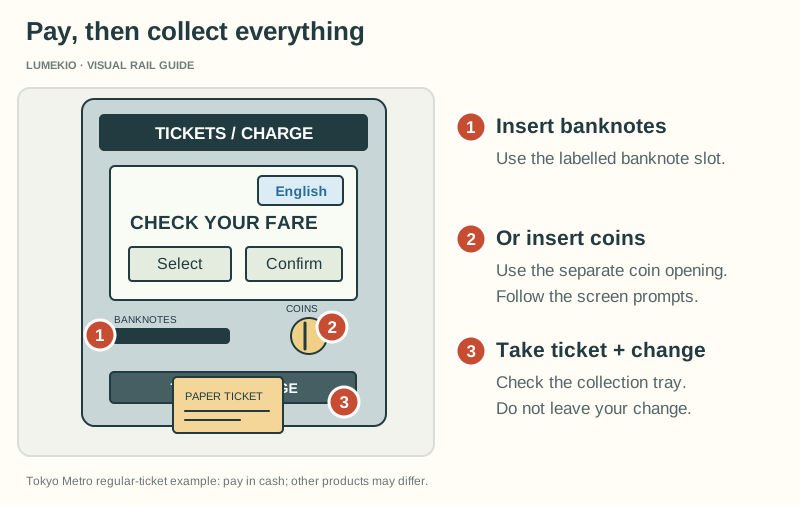
- Insert banknotes
Use the labelled banknote slot. - Or insert coins
Use the separate coin opening. Follow the screen prompts. - Take ticket + change
Check the collection tray. Do not leave your change.
Pay and collect
For Tokyo Metro regular tickets, use cash. Collect your ticket and any change before leaving the machine.
- Insert banknotes
- 04
 Open full-size diagram ↗
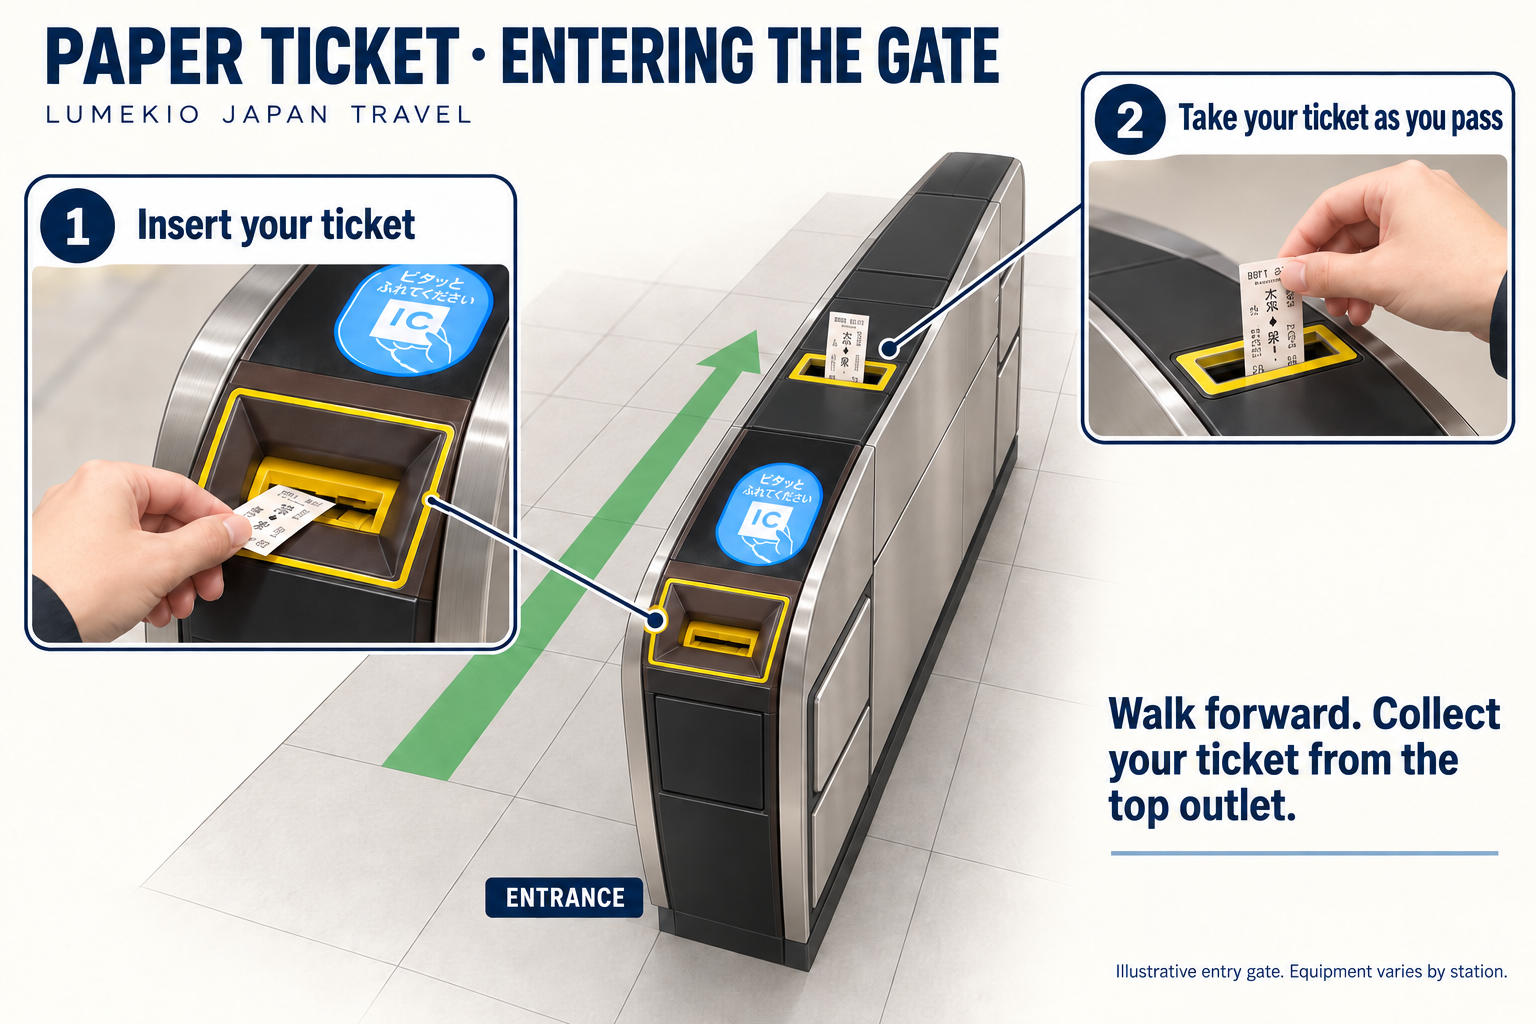
- Insert at the front
Choose a paper-ticket gate. Use the slot, not the IC pad. - Take the returned ticket
Collect it from the top outlet as you pass. Keep it throughout the journey. - Exit with the same ticket
A completed single-trip ticket is normally kept at final exit.
Insert, then collect
Use a gate that accepts paper tickets. Take the ticket returned at entry and keep it for your journey. A completed single-journey ticket is normally retained at the final exit.
- Insert at the front
From the gate to the train
- 01
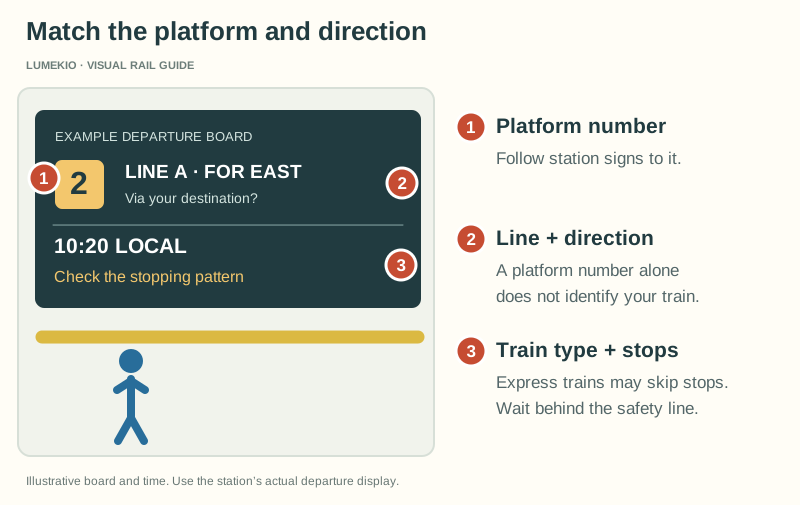 Open full-size diagram ↗
- Platform number
Follow station signs to it. - Line + direction
A platform number alone does not identify your train. - Train type + stops
Express trains may skip stops. Wait behind the safety line.
Check the platform
Match the line, destination and stopping pattern. An express service may skip your stop.
- Platform number
- 02
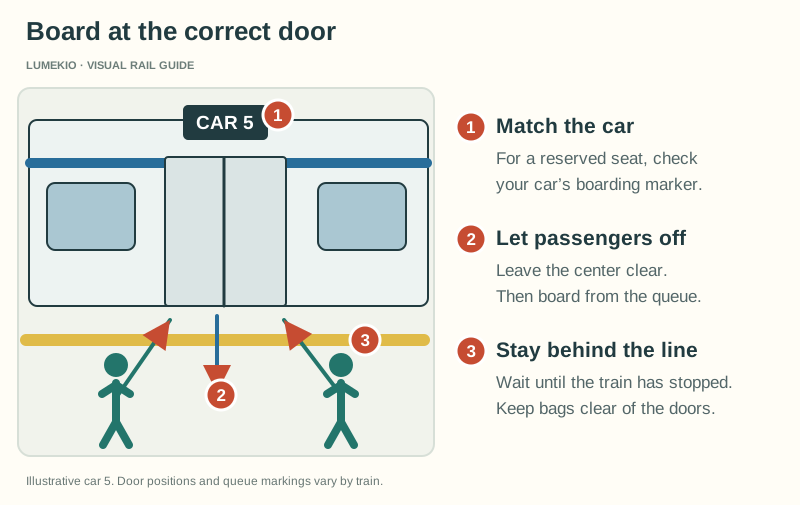 Open full-size diagram ↗
- Match the car
For a reserved seat, check your car’s boarding marker. - Let passengers off
Leave the center clear. Then board from the queue. - Stay behind the line
Wait until the train has stopped. Keep bags clear of the doors.
Let people off first
Wait behind the platform safety line. Let passengers exit, then board without blocking the doors.
- Match the car
- 03Open full-size diagram ↗
- Find the line
Match its name, color and code. - Find your destination
Check the station name / number. Similar names can be confusing. - Confirm the fare
Use a fare map or station search. Check any required transfers.
Exit or transfer
Follow signs for your next line or exit. If a gate rejects your ticket, ask station staff rather than forcing it.
- Find the line
Official instructions
Japan trains in 2026: the simple version
For everyday city travel, prepaid IC cards remain one of the easiest tools. Tokyo Metro says PASMO is rechargeable, works at compatible rail and bus operators nationwide, and can also be used as electronic money at participating locations.
Tokyo Metro currently lists its overseas-visitor Tokyo Subway Ticket at ¥1,000 / ¥1,500 / ¥2,000 for 24 / 48 / 72 hours respectively. It also now offers tap-to-ride using supported contactless credit, debit or prepaid cards on covered lines.
What first-time visitors should actually learn
- Station name and station number
- Which operator/line you are using
- Local vs rapid/express stopping pattern
- Correct exit number at large stations